It's The Complete List Of Door Repair Dos And Don'ts


Door Repair - Simple Fixes You Can Do in a Few Easy Steps
While it's easy to think the door isn't in good repair but there are a number of simple fixes that can make all the difference. Let's start by shimming.
To make an opening shim, open the door and then press it firmly into the frame. Use a block plane or an jack plane to remove small amounts of wood from the binding points.
The Frame
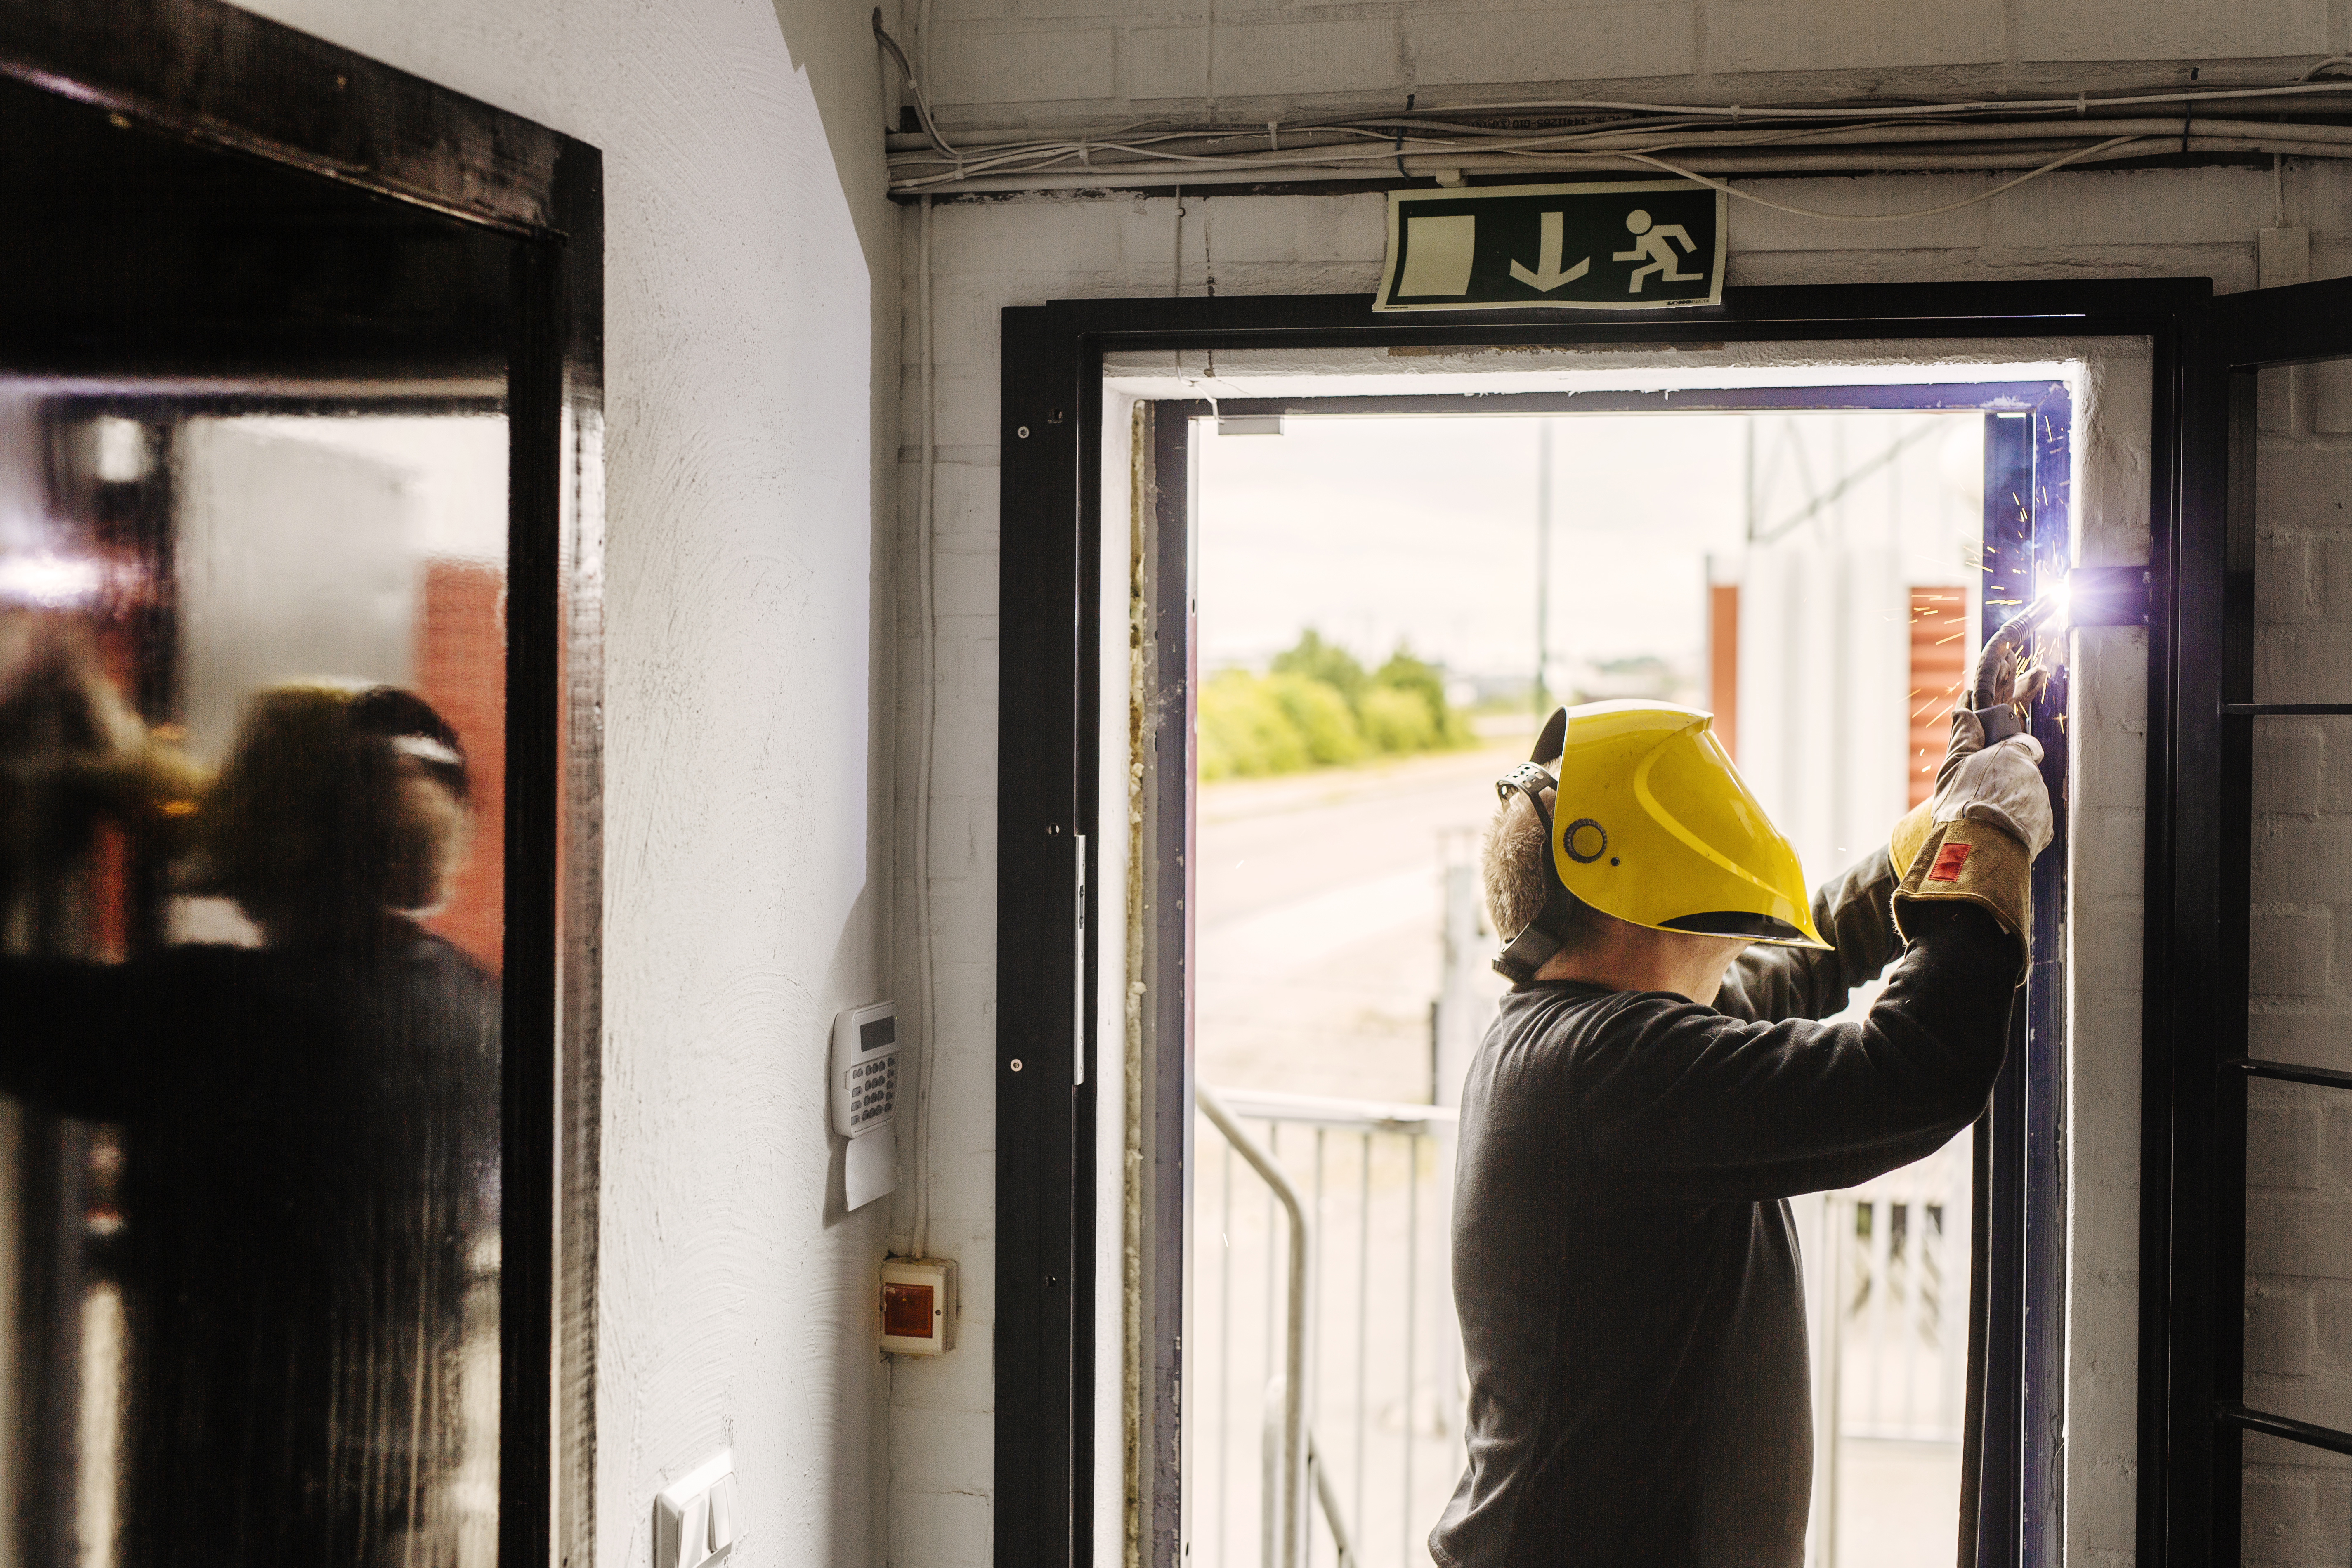
The door frame is a crucial component of your home. It protects you from water damage and gives your home an attractive appearance. It is vulnerable to being damaged. Weather-related damage or burglaries, or just regular use, door frames can become damaged. If they do, this could result in large holes, poor latching and a dull appearance. Fortunately fixing your door frame is a simple process that can be done in just a few steps.
First, take the molding or trim the area around your opening. This can be accomplished using either a hammer or chisel or a power saw. After the trim is removed, make a note of the measurements to replace it after the repair.
The next step is to examine any damaged or rotten areas of the door frame. If there are any rotten areas, you'll have to buy and install replacement pieces of wood. These are usually found at your local hardware store, and should be constructed from an material that is compatible with the rest of your door frame. Avoid pressure-treated wood since it is prone to twist and warp with time.
After replacing any damaged or rotten parts of the frame, you'll be required to ensure that it is securely in place. One way to do this is by using an shim. It is essentially a piece of wood that sits between the frame and the wall. The shim will add support to the frame and keep it from moving.
After you've replaced any shims, it is an ideal idea to caulk around the door's frame and sill. This will stop further water damage and protect your frame from insects.
In the end, you'll have to install the trim again on your door frame. If you are lucky, your old trim might be in decent condition and you can simply nail it back into place. If not, you may have to buy new trim and follow the same steps.
The Threshold
A threshold for a door is the piece of wood that covers and insulates the gap between the door and a floor surface. It also assists in preventing snow and water from accumulating in the entryway. A properly-installed threshold is not just a vital part of your door, but is also an attractive accent that can enhance the appearance of your home's exterior. If your threshold is scratched, worn or damaged, it's the right time to replace it. Installing a new threshold is not as simple as simply sliding it under the casing and nailing it to the frame it must be held up by strips of wood, known as shims, which are placed between the frame's two jambs.
Cut the old threshold away from the sides using a circular blade (use carbide blades, if you can). If you are able, remove the sub sill - the frame part which runs below the threshold. Replace it if it's rotten at the same time as you replace the threshold.
Use a carpenter's square to trace the layout lines prior to cutting the threshold. Make note of the right angles for the notches that are able to fit around jambs. You can also buy pre-cut thresholds that match the dimensions of your doorway in a home center.
Insert the shims, being sure to place them evenly. It's fine to vary the thickness of each shim as required, but keep them not more than 1 1/2 inches wide. It might take a bit of trial and error to get the threshold in a snug place, but able to move freely.
Test the suitability of your new threshold by closing the door and observing the ease with which it opens and closes. There shouldn't be any light under the door and the sweep on the bottom of the door should rap against the top of the threshold.
If the threshold fits perfectly but needs some extra support, apply a construction adhesive to the shims prior to pressing them down under the threshold. Repeat the process with more shims until you have a tight fit that can withstand weight.
The Hinges
A lot of hinges for doors rust or deteriorate over time, making it difficult to close the door. It is important to fix the hinge in order to secure and close the door properly. If you are replacing the hinge, make sure you choose the same hinge that is an excellent match in terms of size and shape. It is also important to ensure that the hinge is correctly positioned in the mortise.
First, examine the hinge for looseness. If the hinge is not tight, it could be rubbing against the strike plate and bind to the frame. Check for scratches in the paint or dents in the frame that indicate where the hinge is rubs. If the issue is the hinge isn't secure enough you can use a screwdriver to tighten it. If the hinge remains loose, try using a sliding shim between the door frame and the hinge, or you may have to replace it completely.
You can straighten the hinge knuckles by bent them using a pair of large tongue-and-groove pliers or an adjustable wrench. You can bend the knuckles by using an enormous pair of tongue-and- groove pliers or a adjustable wrench. It's best to only work on one at one time, so that you don't accidentally bend out the hinge leaf.
It is possible that your door hinges are loose because the screws that hold them in place have stripped. If this is the situation you can replace the screws to provide them with more grip on the hinges.
If the hinge isn't damaged and the screw holes aren't clogged you can use a syringe to inject carpenter's adhesive into the mortise and joint of the hinge. Then screw the hinge back into position and secure it using a drill or screwdriver. Mark the location of the pilot holes in the door and frame before installing new hinges. This will help you to make sure that the screws are in the exact same spot as the hinges that were previously installed.
The Hardware
The majority of people don't pay much attention to door knobs, locks, or levers until they stop functioning properly. They are easily repairable. It is usually a simple issue of picking the best piece that matches the style and finish on your home, and installing it. For exterior doors it's usually an excellent idea to include weather stripping too.
If you have a door that's hard to open, you might be able solve the issue by lubricating the lock assembly. Many door handles, hinges and locks may become stuck when their wear surfaces become dry or dirty. Keeping these parts clean and lubricated is an inexpensive method to ensure they are operating in a safe manner.
Some of the more common problems with door hardware include loose or broken handle screws locks that don't rotate when you use the key, or hinges that rattle or bind. In most cases you can tighten the screws or replace them altogether. In some instances it is better to take the handle or lock from the door and then sand the spindle, lock bore hole, and escutcheon holes to ensure they're clean prior to installing new hardware.
If doors are difficult to close, you may need to lubricate the locking mechanism with penetrating oils. For squeaky hinges you can take off and clean the hinge pins, then reinstall them with longer screws that are more likely to be able to hold.
If you're planning to replace a lock, handle, or hinge, be sure to select a model that is compatible with the current hole size in your door and jamb. You'll typically find this information on the packaging or on the website of the manufacturer. For instance, doorknobs or levers need a hole that is at a certain spread (the distance from the center of the hole in the lock to the knob). Check sash window repair to determine whether the replacement fits.